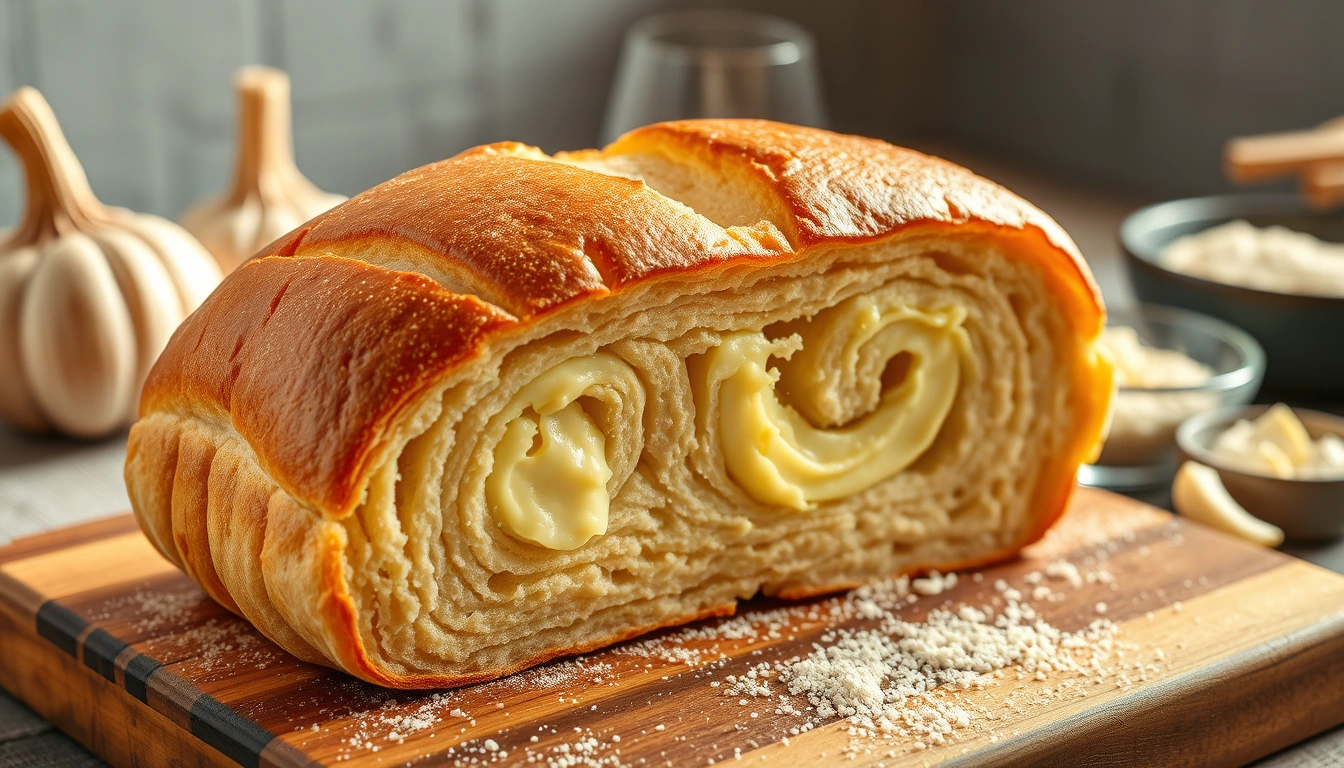
Authentic Garlic Bread
Garlic bread is a classic preparation that combines the simplicity of homemade bread with the intense flavor of garlic and butter. Its origin dates back to ancient Italian and Mediterranean traditions, where the use of garlic in cooking is fundamental, both for its flavor and its medicinal properties. In Latin America, this dish can vary in name and style; for example, in Mexico and Central America it is known as "pan de ajo" (garlic bread), while in countries like Argentina or Chile it is widely enjoyed as a side dish at barbecues, even when it doesn't always carry that specific name.
This bread is very popular at family gatherings and celebrations, and is usually served as an appetizer or side dish. The traditional recipe typically includes butter, garlic, and various flours, providing a balance between a crispy texture and a soft crumb. Its popularity has transcended borders, adapting in each country according to customs and ingredient availability.
How to Prepare Authentic Garlic Bread
Begin the preparation by combining the garlic puree with the butter, creating a homogeneous and aromatic cream.
In a large bowl, combine the yeast with 1/2 cup of warm water.
Stir with a fork or a small whisk to activate the yeast.
Add 2 1/2 additional cups of water and then salt to taste.
Incorporate the flour little by little, 1 cup at a time, starting with the whole wheat flour.
Use a whisk until the dough begins to have a firm consistency, then switch to a wooden spoon to continue mixing.
Pour the dough onto a well-floured work surface and begin kneading rhythmically for 10 to 15 minutes, until you obtain a smooth, elastic, and non-sticky dough.
If necessary, add more flour while kneading to prevent sticking.
To check if the dough is ready, press two fingers into it and observe if the indentations return to their original shape.
Cover the dough with a cloth and let it rest while you clean, dry, and generously grease the bowl with butter.
Knead the dough a few more times, form it into a ball, and place it in the bowl, turning it to coat it completely with butter.
Cover the bowl and place it in a warm, draft-free spot for approximately 1 1/2 hours, until the dough doubles in size.
You'll know the fermentation is sufficient when you gently press a finger into it and the indentation remains.
Once doubled in size, flour your fist and punch the dough down.
Knead a few more times and let it rest briefly.
Sprinkle a large baking sheet or two small ones with a generous amount of cornmeal.
Divide the dough into 3 equal parts and keep the pieces you are not working with covered.
Flour the work surface and roll out each piece with a rolling pin to form a rectangle approximately 14 inches long by 7 inches wide.
Spread each rectangle with the softened garlic butter.
Roll from one long edge to the opposite long edge, as if rolling up a carpet, and pinch the ends to seal them.
Place the loaves on the floured baking sheets.
With a sharp knife or a razor blade, make shallow cuts in the loaves at 2-inch intervals.
Cover with a cloth and let it proof in a warm, draft-free place for approximately 1/2 hour, until the loaves double in size.
Preheat the oven to 400 degrees Fahrenheit.
Bake for 35 to 40 minutes with a pan of boiling water placed at the bottom of the oven to maintain humidity.
During baking, spray the loaves with water several times to achieve a crispy crust.
To check for doneness, tap the bread with your knuckles; it should sound hollow.
Cool the loaves on wire racks, although they are delicious if eaten warm, straight from the oven.